
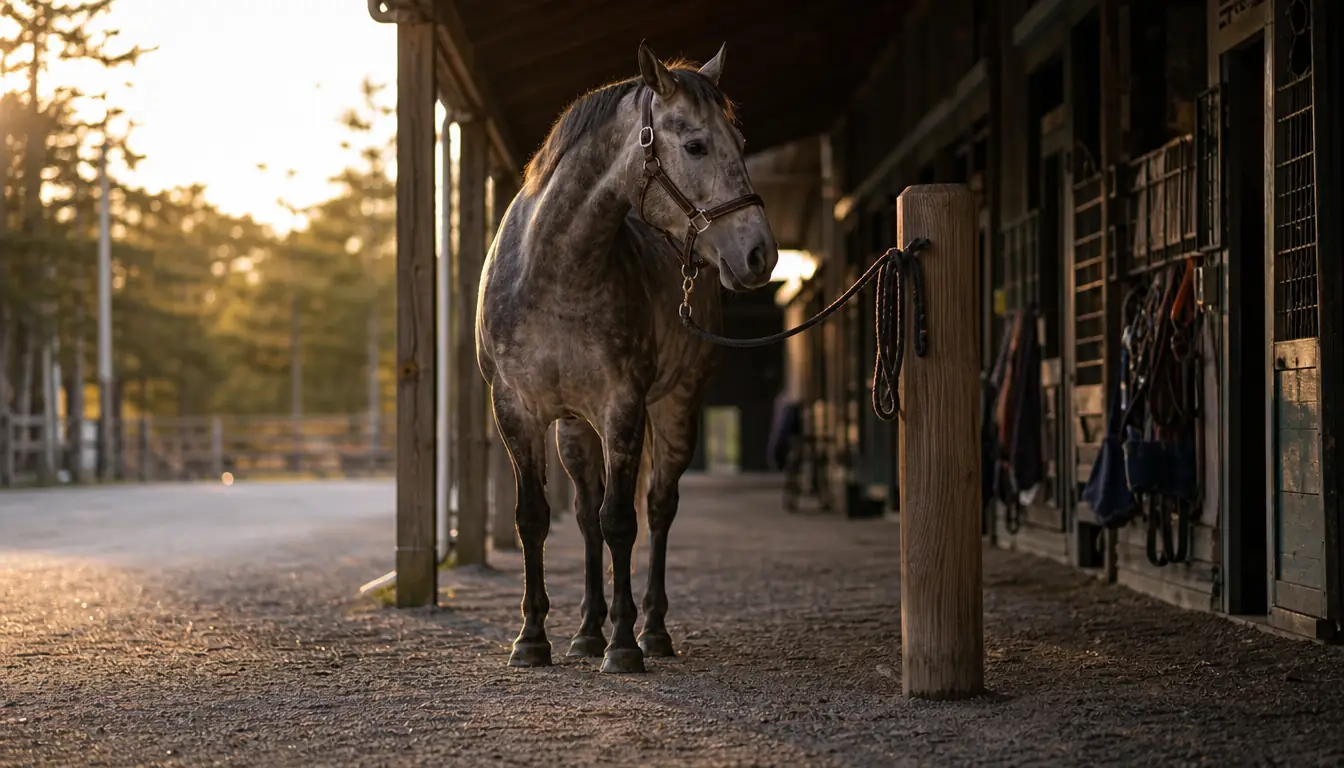
Ranger is a 14-year-old sorrel Quarter Horse gelding, 15.1 hands, about 1,050 pounds, with a white blaze and one white sock on his left hind. He is calm on the trail and a little herd-sour leaving the barn, and that second part matters here, because the first minute of every ride is a horse leaning toward the pasture and a rider trying to get a halter on and off without a wrestling match. I have been doing that dance for six years. The halter he wears is a Weaver Equine padded nylon halter in Average Horse size, bought in November 2024, and it is the one piece of gear on this place that touches him every single day of handling.
Most halters I see on the trail are either too loose or too tight, and both cause trouble. Too loose and the noseband slides down over the nostrils, or the whole thing rolls around his face when he tosses his head, so the pull lands on his eye or his ear instead of his nose. Too tight and you get a rub on the cheekbone inside a week, a horse that starts backing away when he sees the halter coming, and a throatlatch that never lets him relax. I learned it the slow way, buying a cheap feed-store halter every year because they faded, frayed and rusted at the buckles. Then I bought one that was padded and actually adjustable, and the difference was not subtle.
A Halter That Rubs Is Usually the Wrong Halter, Not Just the Wrong Adjustment
The Weaver Equine padded nylon halter in Average Horse size is the one Ranger has worn daily since November 2024. PVC-coated foam rubber liner under 1 inch nylon, brass plated hardware, a snap closure and enough adjustment to actually fit a horse instead of approximately fitting one.
Amazon Check Today's Price on Amazon →Step 1: Look the Halter Over Before It Goes Near the Horse
Nylon is tough, which is exactly why it rubs when the fit is wrong. Before I put a halter on Ranger, I run my thumb along the inside of the noseband and both cheek pieces, right where the padding sits against the hair, and I look for anything rough, curled or worn flat. The Weaver Equine halter has a soft PVC-coated foam rubber liner under the nylon, and once a liner goes hard or peels it stops cushioning and starts grinding. Two years in, the padding on mine is flatter than it was new, but it is still smooth and it still sits where it should.
Then the hardware. The listing calls it brass plated, and plating is only as good as what it sits on. I check the snap and every adjustment point for green crust or a rough spot that catches a finger, because that same rough spot will catch a horse. My old feed-store halters rusted at the buckles inside a year, sitting in the same tack room in the same Arkansas humidity. This one has not.
Last check is size, and it is on the halter itself, so there is no guessing. Average Horse is the middle of the common sizes and it is meant for average builds. Ranger is a plain Quarter Horse with no draft in him, so Average Horse is his size. A pony head in an Average Horse halter hangs loose no matter how many holes you take up, and a big warmblood head will not close at all. Get the size right first and the adjusting goes fast.
Step 2: Set the Noseband Height Before You Touch Anything Else
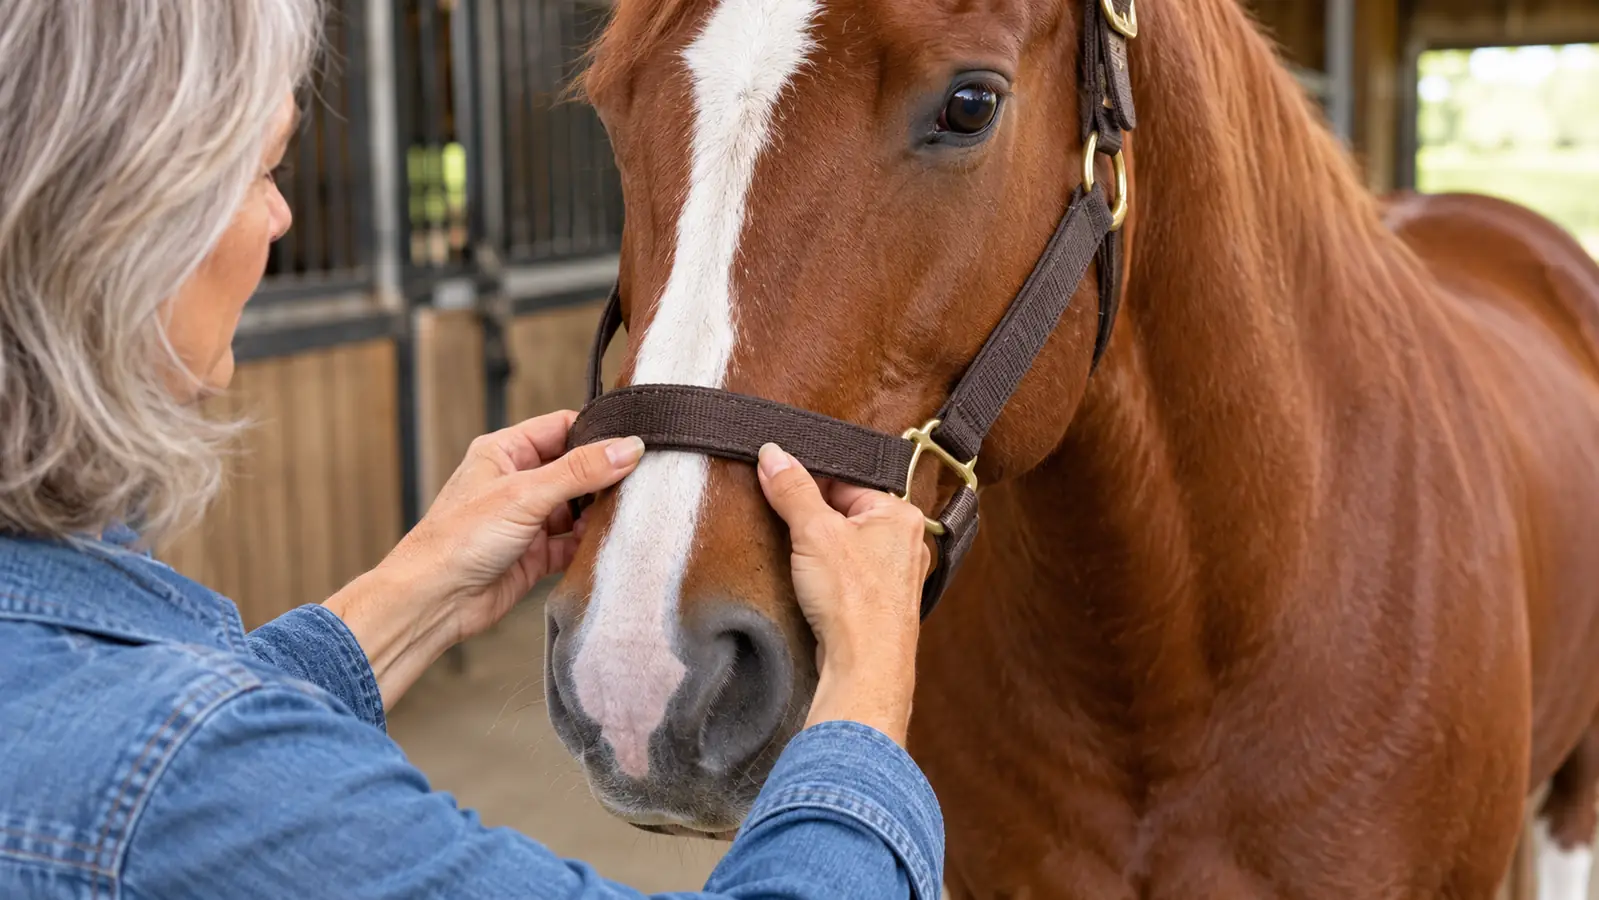
Two fingers between the noseband and the side of his face. That is the whole rule, and I wish somebody had told me twenty years ago.
The bone you can feel running down the side of a horse's face is the cheekbone, and the noseband should never sit on it. Too high and the halter presses on bone with nothing over it but skin, which is how you get a rub that takes a month to heal and a horse that flinches when the halter comes out. Too low and the band creeps down onto the soft part above the nostrils, where it interferes with breathing and gets shoved around every time he drops his head to graze.
On Ranger I set it by feel. Slide the halter on, take up the adjustment until the noseband is snug, then try to work two fingers under it sideways. If my fingers slide through easy, it is too loose. If I have to push, it is too tight. He tells me the rest. A noseband in the wrong place makes him rub his nose on his front leg within a minute, and a noseband in the right place he ignores completely.
Step 3: Seat the Crownpiece and Give the Throatlatch Some Room
The crownpiece goes behind the ears, not across them. Pull the forelock out from under it so the hair is not bunched, settle the crownpiece down into the hollow behind the ears, and check that both ears are clear and can still swivel. A crownpiece sitting forward on the ears is the second most common bad fit I see, and it will make a horse head-shy in a hurry.
The throatlatch is where people overtighten, usually because they think tighter means safer. It does not. A horse has to be able to flex at the poll to carry his head and to cough. I want to lay my whole hand flat between the throatlatch and his jaw. If my hand will not fit, the strap comes out a hole. Ranger drops his head to graze the second we stop, and a throatlatch that is too snug turns that into a tug of war.
Then the snap closure, and I check this one twice. Snap it shut, then pull on the halter to make sure the snap has seated all the way and is not resting on the edge of its keeper. A snap that is half closed will let go the first time a horse plants his feet and leans back. I have had that happen and I do not care to repeat it.
The Weaver Equine halter has been on Ranger every day of handling since November 2024. It has faded some and the padding is flatter, but no stitching has failed.
Step 4: Match Both Sides and Watch for Rub Marks
Count the holes on both cheek pieces. It sounds fussy and it takes ten seconds. If the left side is on the third hole and the right is on the fourth, the halter sits crooked, the noseband rides off to one side, and one side of his face takes all the pressure. I counted out loud the first few times until I trusted my eye.
The chin piece should sit under the jaw, behind the point of the chin, not pressing into the soft part of the throat. There should be room to slide a couple of fingers under it. Ranger will tuck his chin and lean on a chin piece that is too snug, and then the noseband rides up and the whole fit is gone.
Then check the hair. In November, Ranger is carrying a winter coat, and a coat is an inch of padding his halter did not have in July. Mine goes one hole looser in late fall and one hole tighter in May, like clockwork. Walk your fingers around the inside of the halter and look for a patch of hair that is rubbed or standing up wrong. That patch is telling you exactly where the pressure is.
Step 5: Tie to Something Solid With a Knot You Can Undo
Tie to something solid, at a height that puts the tie point around the horse's withers or a little above. Too low and he can get a foot over the lead. Too high and he can hurt himself if he sets back. A stout post or a ring in a solid wall is right. A gate latch, a fence board you can wiggle, or anything with a sharp edge is not.
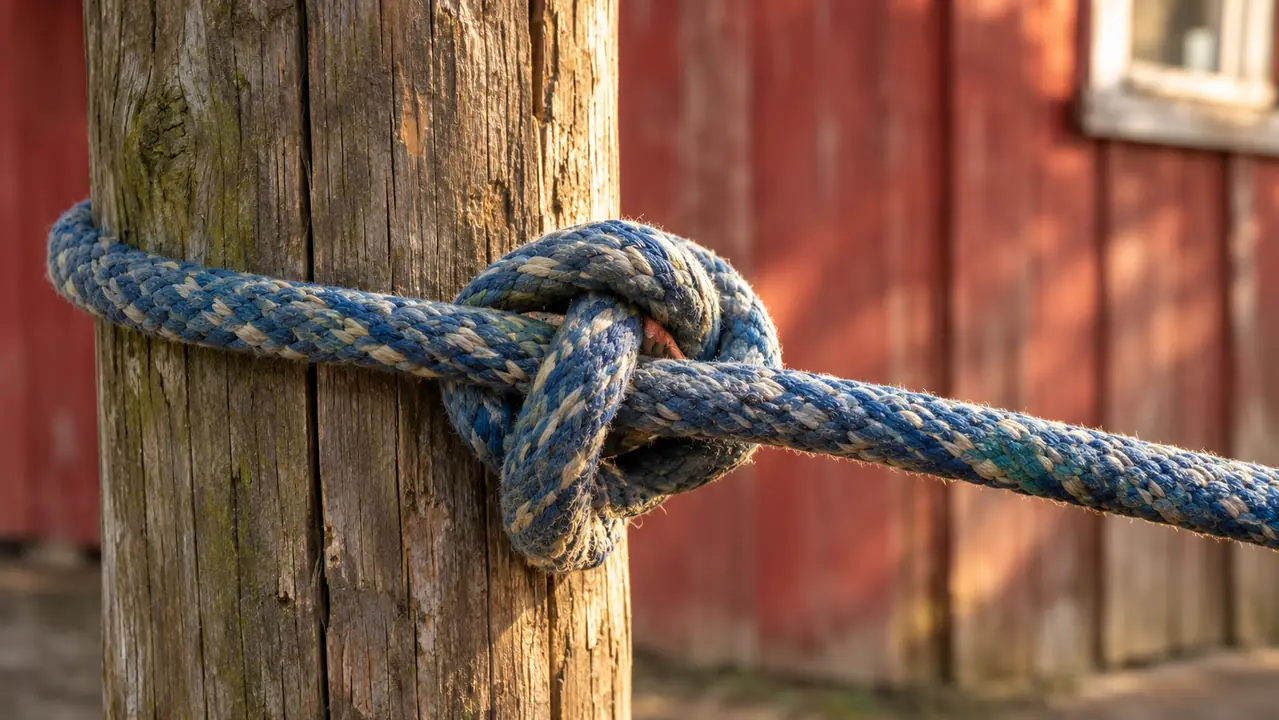
Use a quick-release knot, the one where the tail of the rope comes back through a loop so one hard pull drops the whole thing. Tie it with the end, not a hard knot you cannot get apart with cold fingers in the dark. I tie Ranger with about two feet of slack from the knot to the halter. Enough that he can move his head and look around. Not enough that he can get a front foot into the loop.
Then the rule I do not bend: he is never turned out, never left in a stall, and never trailered loose while wearing a halter. A halter is for handling. A horse wearing one in a field can catch it on a fence post or a bucket handle, and the halter does not break, and that is how horses get hurt. On and off. Every time.
And do not wrap the lead rope around your hand, not even for a second. A horse that spooks takes the loop with him. Ranger spooked at a deer on a gravel road in March and I came off sideways into the ditch grass, and the only reason that ended as well as it did is that nothing was wrapped around me.
What Else Helps
Grooming before you fit makes a bigger difference than people expect. Hair bunched under a noseband will rub, and grit under there will grind. I go over Ranger with the curry comb and then the brush from the Weaver Equine grooming kit that hangs on a hook just inside the barn door, and I do his face with the palm-held face brush before the halter goes back on. Two minutes, and it is the difference between a halter that sits flat and one that shifts all morning.
Gloves help more than I thought they would. I bought a pair of Heritage Performance riding gloves a year ago because the reins were raising blisters between my ring and little fingers on the long summer group rides. What I did not expect was how much better my grip on a lead rope would be. A herd-sour horse leaning for the pasture is a rope you are holding with your fingers, and bare hands slip.
If a halter is rubbing and you cannot find the cause, or your horse has started flinching when you go to catch him, have our vet or our farrier look at him. A fit problem is one thing. A sore poll, a tooth, or something going on in the mouth is another, and I am not the one to sort that out.
Then check the fit again in a month. This is not a one-time job. Coats change, horses come out of winter a little lighter or heavier, and a halter that was right in October can be snug at the throatlatch by December. Ninety seconds with two fingers, once a month, keeps it right.
Set It Once, Check It Monthly, and Stop Fighting With It Every Morning
Padded nylon, brass plated hardware, snap closure, adjustable, 1 inch wide, in Average Horse size for average builds. It is the halter Ranger has worn for two years of catching, grooming, tying, the farrier and loading in the trailer.
Amazon Check Today's Price on Amazon →