
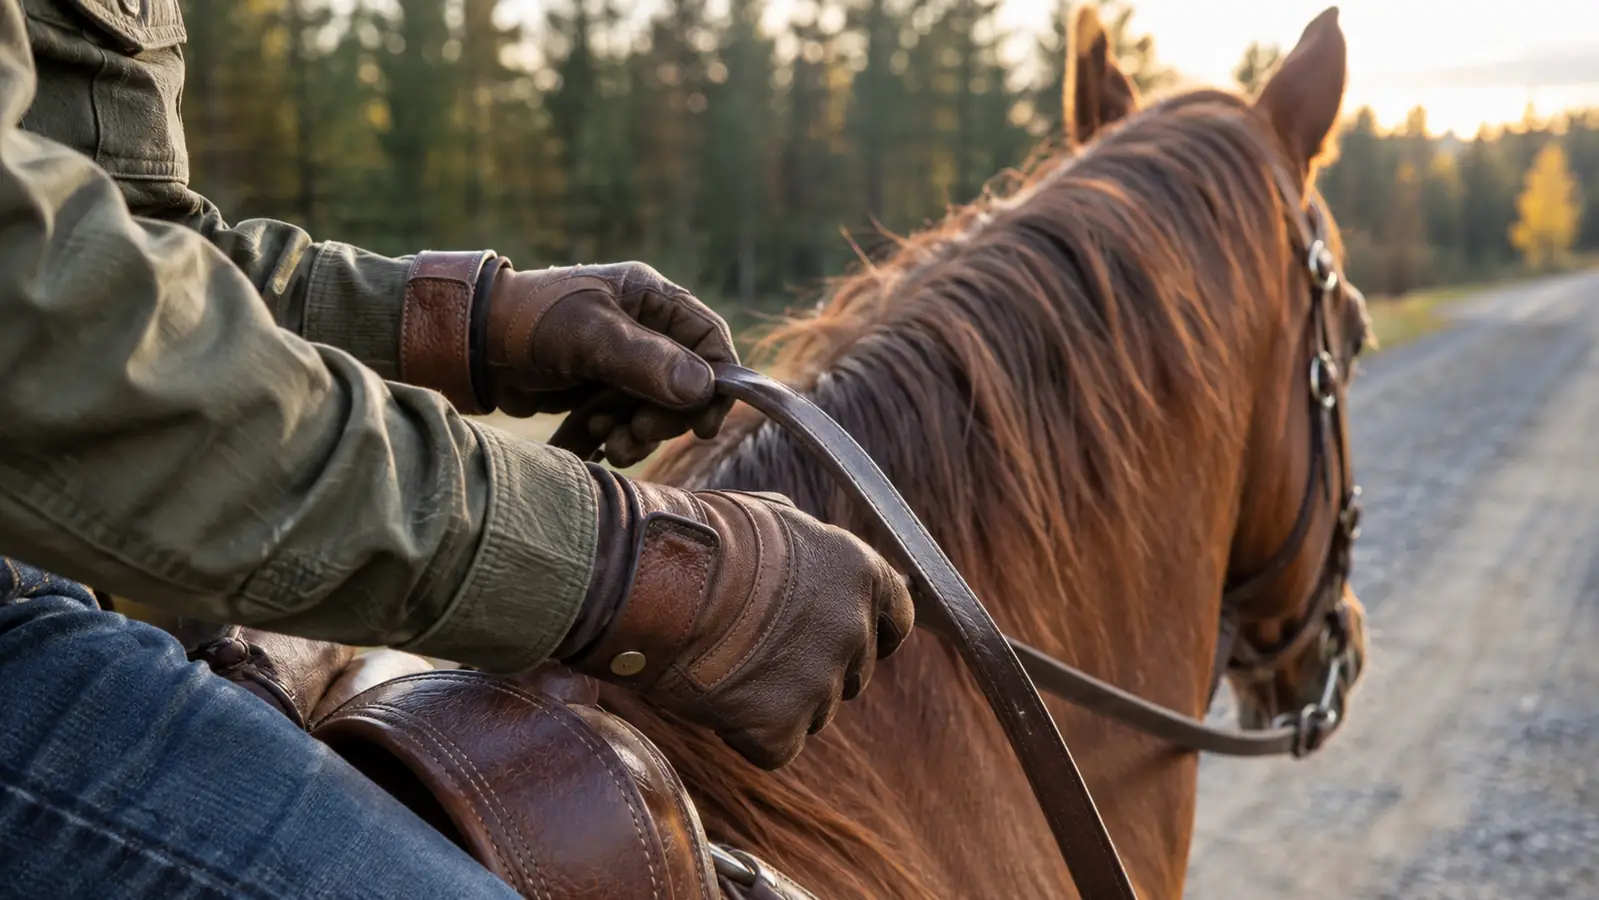
The blister shows up in the same place every time. Between the ring finger and the little finger, right where the rein sits when you have been holding it for two hours without thinking about it. Mine came in July of last summer, on the long monthly ride with friends, somewhere around mile eight of gravel road and shade and one creek crossing. I got back to the trailer with a raw spot on each hand and a bad attitude.
I had been riding in thick cotton work gloves because they were cheap and I already owned them. The trouble was that the cotton bunched in my palm and I could not feel the reins through it. So I did what a lot of us do. I took the gloves off and rode bare-handed, which is how a leather rein turns into sandpaper by mile eight. What finally fixed it for me was a pair of Heritage Performance Gloves I bought a year ago this month, plus a few changes in how I carry the rein and how I bring my hands along. The gloves are the part you can buy. The rest is the part you have to practice.
Here is the order I would do it in if I were starting over with sore hands and a long ride coming up. It costs less than a new bridle, and most of it costs nothing at all.
The pair that ended the raw spot between my fingers
Heritage Performance Gloves: synthetic grain leather palm, patented rein cut, elastic cuff with an adjustable strap. A year of riding on mine and my hands have not had a blister since.
Amazon Check Today's Price on Amazon →Step 1: Find Out What Is Actually Rubbing
Before you buy anything, figure out what is really rubbing. A blister between two fingers is almost never the rein by itself. Something in there is moving, and movement plus friction plus two hours in the saddle equals a raw spot.
On my hands the movement came from two places. The cotton work gloves were loose across the palm, so every time Ranger bobbed his head the rein dragged the glove instead of dragging my skin, and that small slide happened a few thousand times a ride. My grip was the other half of it. When he got looky at a mailbox flag or a low branch, I closed my hand down hard and kept it closed. Ten minutes of that will finish off any pair of fingers.
So check the easy things first. Does the glove twist when you make a fist? Does a seam sit right where the rein crosses your finger? Are your hands dry and cracked before you even start, because dry skin rubs raw faster than anything? Is the rein itself stiff, or dusty, or wet from a creek crossing? Any one of those will do it. Two of them together and you will be wrapping tape around your fingers at the trailer.
Step 2: Get a Glove That Grips Instead of One That Pads
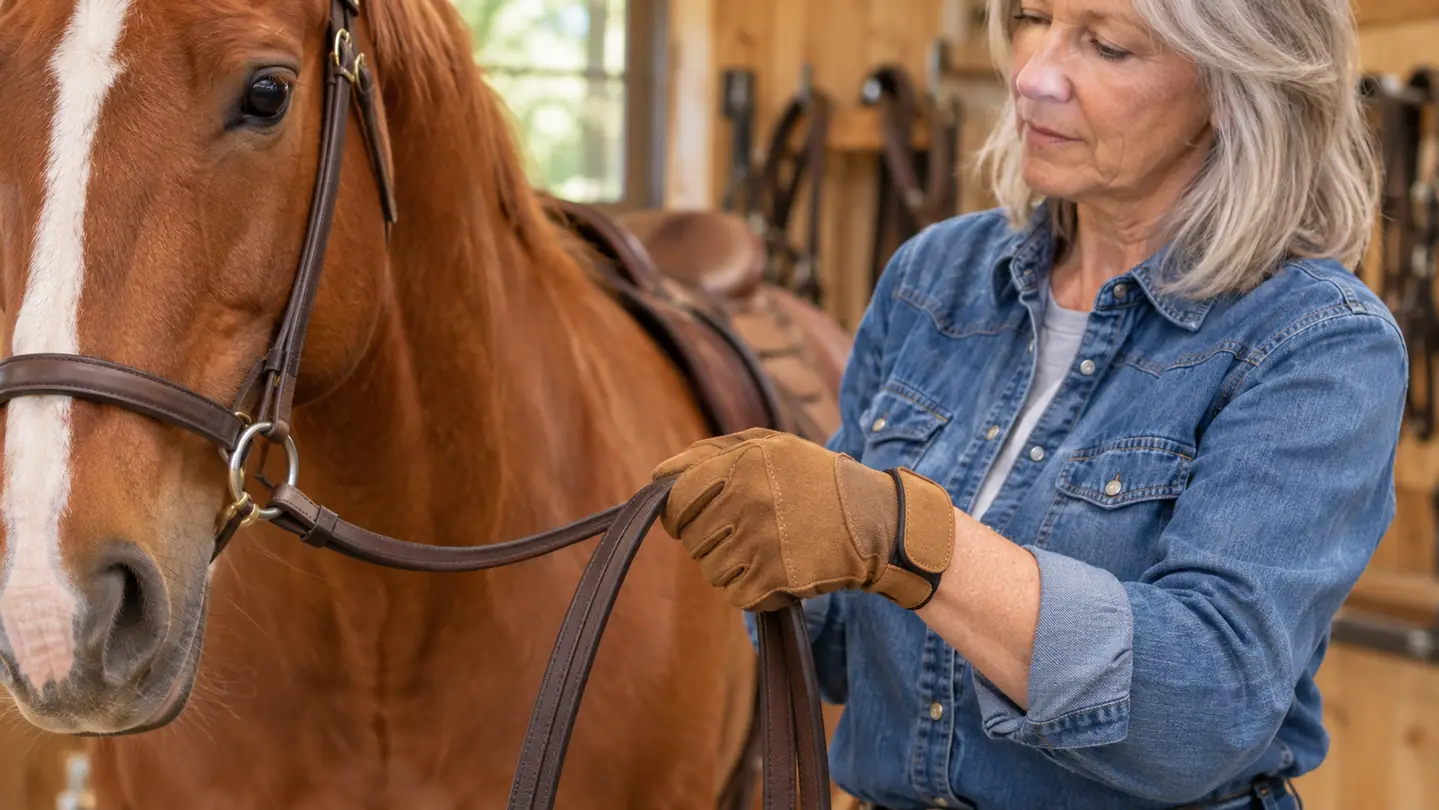
I went through a few pairs before I landed on these. Thick padded work gloves made my hands sweat and I lost all feel of the reins. Thin cotton ones wore through at the rein finger inside a season. The Heritage Performance Gloves are the pair I have worn on every ride for the last year, and the difference is that they grip instead of pad. The palm side is a synthetic grain leather that is breathable and grabs the rein rather than letting it slide through your hand.
The part I did not expect to matter as much as it does is the patented rein cut. The rein falls into a channel between the fingers instead of riding up over a seam, and the spot between my ring and little finger is exactly where my blisters used to start. The critical outward seams are double stitched. Mine have been through a year of gate latches, hay strings and wet reins, and no seam has let go.
They are ambidextrous, so there is no wrong hand at five in the morning when you are half awake in the tack room. The elastic cuff with the adjustable strap lets me snug the wrist without cutting off the circulation in my fingers. They are leather and they are hand wash only, which brings me to Step 5.
Sizing matters more than any of the rest of it. Measure your hand and follow the size chart on the listing instead of guessing from the size of your work gloves. A glove that is too big will twist under a pull, and one that is too tight pinches at the base of the fingers and costs you the feel you were trying to keep in the first place. Mine were a little stiff across the knuckles for the first two or three rides, and then they loosened up and stayed there.
Step 3: Change How You Carry the Rein
Gloves help. They do not fix a death grip. The biggest thing I changed was how much rein I let run through my fingers instead of clamping down on, and that change cost nothing.
I ride Western and mostly one handed, rein across the palm with the thumb on top. The trouble is that when Ranger gets herd sour leaving the barn, or spooks at something in the brush, my hand closes down and stays closed. What works better for me is to keep the fingers closed and the hand soft, letting the rein slide a quarter inch instead of fighting it. On a long straight stretch of gravel road I will split the reins and carry one in each hand for a while. It rests the fingers that do the most work and it settles him.
Pay attention to where the rein actually sits. If it crosses the base of your index finger, you will get a hot spot there instead. Move it back so it falls in the rein cut and then leave it alone. Check your thumb, too. A rider with the thumb pointed down is rolling the rein against the index finger all day long. Thumb up, knuckles forward, and let the horse carry his own head.
On the long rides I also switch the rein to my other hand when the trail is wide and the footing is good, just to give the working fingers a rest. It sounds fussy. It is the difference between finishing the last two miles comfortable and finishing them with your jaw clenched.
Mine are worn smooth at the rein finger and stained across the palm after a year of riding, but no seam has let go and the blisters have not come back.
Step 4: Build Your Hands Up Before the Long Ride
Most of my blisters came from doing too much at once. Three rides a week of an hour and a half is one thing. Going from that straight to a four hour group ride on a Saturday is another, and my hands were the only part of me that was not fit for it.
Add mileage the way you would add it to a horse's conditioning. If the monthly ride is eleven miles, I do not want my longest ride in the two weeks before it to be six. I add twenty minutes to a couple of rides, then do a nine mile ride the weekend before, and by the time we trailer out I have already spent four hours in the saddle that week.
Posture counts more than people think. When I get tired I brace my hand against the horn and let my arm take the pull, and that is when my grip goes sloppy and my fingers start to burn. Sit up, let the rein hang, and let the saddle carry you. If you catch yourself squeezing the horn, that is your cue to take a walk break. Ranger never argues with a walk break.
Plan your rest before you need it. On our usual route there is a shaded stretch about halfway where the footing is good, and I drop the reins to the buckle and let Ranger walk on a loose rein for ten minutes. That ten minutes does more for my fingers than anything else I do all day.
Step 5: Take Care of Your Hands and the Gloves After the Ride
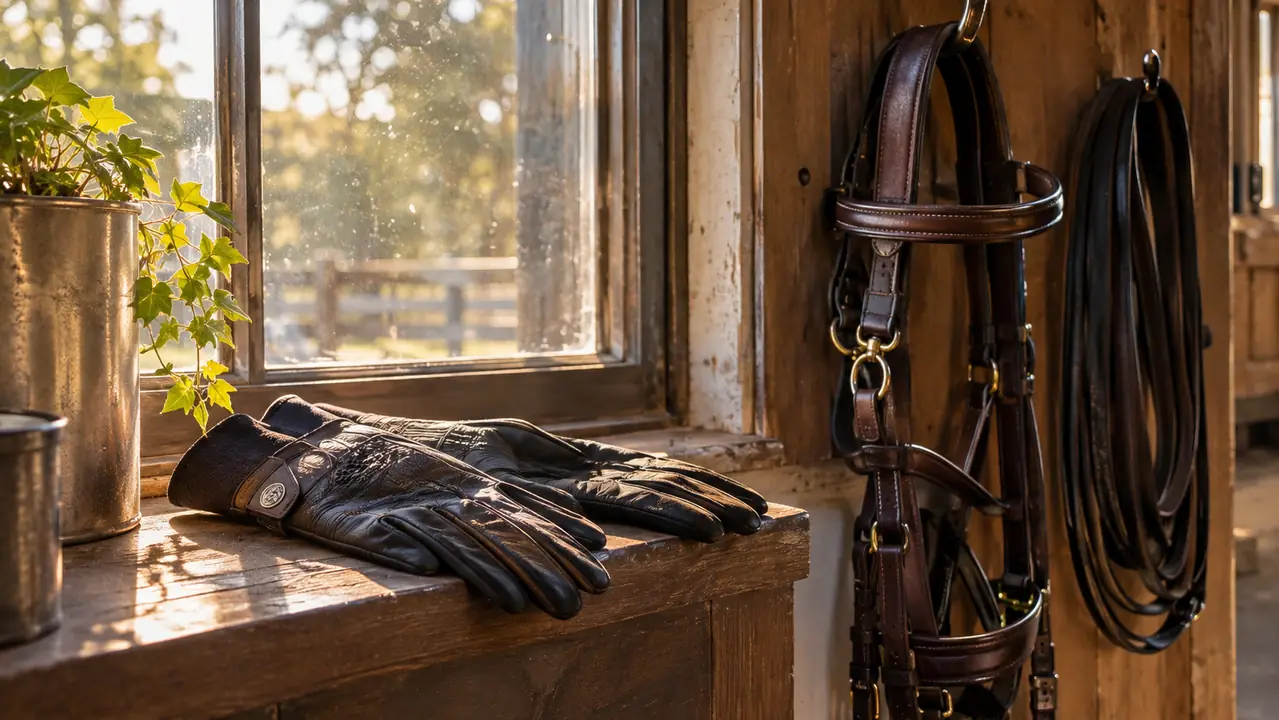
The Heritage Performance Gloves are hand wash only and that is not a suggestion. Warm water, a little mild soap, work it in, rinse, and press the water out in a towel. Then they go on the tack room windowsill to air dry. Not on the truck dash, not on a heater, and not wadded up in the bottom of a saddle bag. A year in, mine are worn at the rein finger and stained across the palm, but nothing has torn.
For your hands, the work is boring and it works. Wash the dust off, dry them, and put something on them before bed. A tin of udder balm by the kitchen sink has done more for my hands than any pair of gloves. Trim the nails short and file the rough edges, because a rough edge catches the rein and starts the whole thing over again. Leave a little callus across the palm but do not let it split.
If a blister has already formed, do not pop it. Cover it, keep it clean, and ride in the gloves until it settles down. If a spot stays open and angry for more than a few days, that is a question for your doctor, not for me and not for a horse magazine.
None of this takes more than ten minutes after a ride. It is the cheapest part of horseback riding and the part most of us skip. Ten minutes at the truck is better than three days of riding with your fingers wrapped in tape.
What Else Helps
A few smaller things that made a difference. Thin liner gloves under the riding gloves in cold weather, thin enough that you can still feel the rein through them. A dry towel in the trailer to wipe your palms at the halfway point. A second pair of gloves in the tack room so you are not pulling on damp ones the next morning.
Look at your reins. A stiff, dried out leather rein will rub more than a supple one. I clean mine a couple of times a season and keep them out of the sun. If your horse is a head bobber on the trail, and Ranger is when he is fresh, give him more rein and use less hand. He is the one doing the pulling. You do not have to match him.
And do not ignore the obvious. If you are riding with your shoulders up around your ears and your elbows locked, your hands are taking every bit of the bounce. Loosen your shoulders, bend your elbows, and let the horse's movement go past you instead of into your fingers.
Carry a small tube of something in your cantle bag if you are out for more than a couple of hours, and use it at the trailer before you drive home. If you ride in dry country or in the winter, cracked knuckles will hurt worse than any blister ever did. The gloves protect your hands. The balm is what actually heals them.
Start with the gloves, then work on the grip
A year of riding in the Heritage Performance Gloves and my hands have not had a raw spot since. Hand wash only, air dried on the windowsill, size chart on the listing.
Amazon Check Today's Price on Amazon →